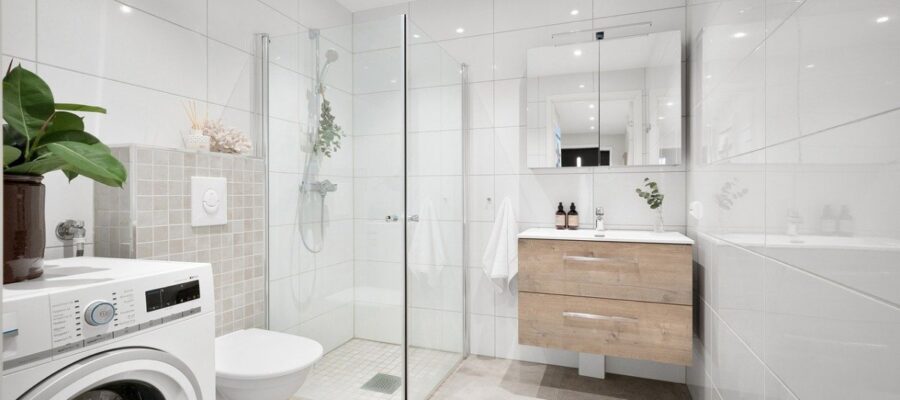
Modern bathrooms are defined by clean lines and the absence of obstacles. In this context, the traditional raised shower tray with its visible edge has become a thing of the past. Today, the spotlight is on the walk-in shower, with the ultra-slim shower tray as its ultimate expression.
This design solution isn’t just a passing trend — it’s a functional and aesthetic choice that completely transforms the bathroom. By reducing the height to a minimum (usually between 2 and 4 cm), it removes both visual and physical barriers, allowing the shower to blend seamlessly with the floor. The result: a space that feels significantly larger, lighter, and more sophisticated.
But what does it take to install this design gem in your bathroom, especially if it’s a renovation rather than a new build? Below, we explore its aesthetic benefits, on-trend materials, and the technical guide to achieving a flawless installation over an existing floor base.
The Aesthetic Impact: Why Ultra-Thin is Trending
An ultra-slim shower tray is the foundation for a bathroom design that aspires to excellence.
1. Visual Spaciousness and Minimalism By removing the step, the shower floor and the rest of the bathroom floor appear as one continuous surface. This visual continuity is one of the most effective interior design tricks to double the sense of space in small bathrooms. The eye encounters no interruption, resulting in a clean, minimalist, and serene aesthetic. For total integration, pair it with a fixed frameless glass screen (walk-in style).
2. Materials that Speak of Subtle Luxury The choice of material for the ultra-slim tray is key to the finish. Forget glossy acrylic if you want a magazine-worthy look:
Mineral-Filled Resin: The star material. Ultra-slim, customizable in size, and available in textures like slate, stone, or polished cement. Its matte, warm-to-the-touch, and non-slip surface makes it ideal for achieving a built-in look without complicated waterproofing. Available in a wide range of colors (dark gray, beige, matte white) that pair beautifully with black or gold fixtures.
Microcement or Built-In Finish: For a fully custom tray, microcement ensures perfect continuity with the bathroom floor, creating a shallow “water pool” effect with high aesthetic impact.
3. Safety and Accessibility While primarily functional, this feature is essential for inclusive design. By eliminating the step, the bathroom becomes accessible for everyone — older adults, children, or people with reduced mobility. A design that is both safe and elegant is the hallmark of a well-thought-out project
The Technical Challenge: Flawless Installation on a Concrete Floor
The most common challenge in a renovation is the drainage system. Ultra-slim shower trays require the drain to be positioned as low as possible so that the tray surface sits almost flush with the floor.
1. Checking the Floor Base and Drain The floor base (the layer of mortar or cement covering the slab) must be in good condition, stable, and level.
The Big Challenge: The Drain The diameter of the drain valve and its pipe require vertical space (thickness). In renovations, this space is often limited. For an ultra-slim installation, it is almost always necessary to lower or recess the existing floor base enough to fit a high-flow valve and the drain pipe connection. Without this adjustment, the tray simply won’t sit flush.
The Slope: It is crucial to ensure that the main pipe connecting to the drain has the proper slope for quick water evacuation and to prevent standing water. In the floor base, this is usually around 1.5% to 2%.
2. Surface Preparation and Leveling Once the drain area is lowered:
Cleaning: The surface must be perfectly clean, free of dust and debris.
Leveling/Adhesive Mortar: Prepare a bonding base on the recessed floor. A specific mortar (often high-strength tile adhesive) is used to slightly raise the level where the tray will sit and create the final slope (generally 1–2%) toward the drain. While most shower trays already include a slope, the base helps achieve proper drainage.
Waterproofing (Optional but Recommended): Although resin trays are waterproof, for built-in trays or added security, it’s recommended to apply a waterproof membrane or paint on the floor base before placing the tray.
3. Tray Installation and Sealing
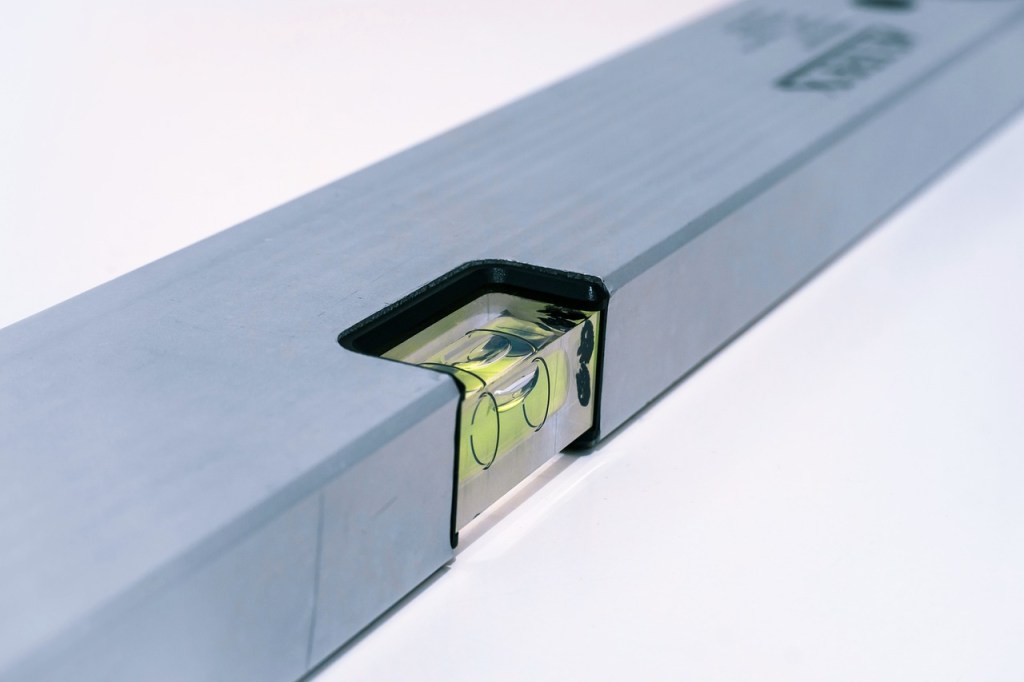
Placement: With the mortar still fresh, carefully position the shower tray, immediately checking the level with a bubble or laser level. Ensure the entire base of the tray is in contact with the mortar to prevent cracking when stepped on.
Drain Connection: Connect the valve and drain pipe, making sure the seal is completely watertight.
Perimeter Sealing: Once the mortar has dried and cured, seal the perimeter (the joint between the tray and the wall) with high-quality anti-mold silicone. This step is essential to prevent leaks and ensure both hygiene and a clean aesthetic finish.
Combination with Other Elements: The Design Closure
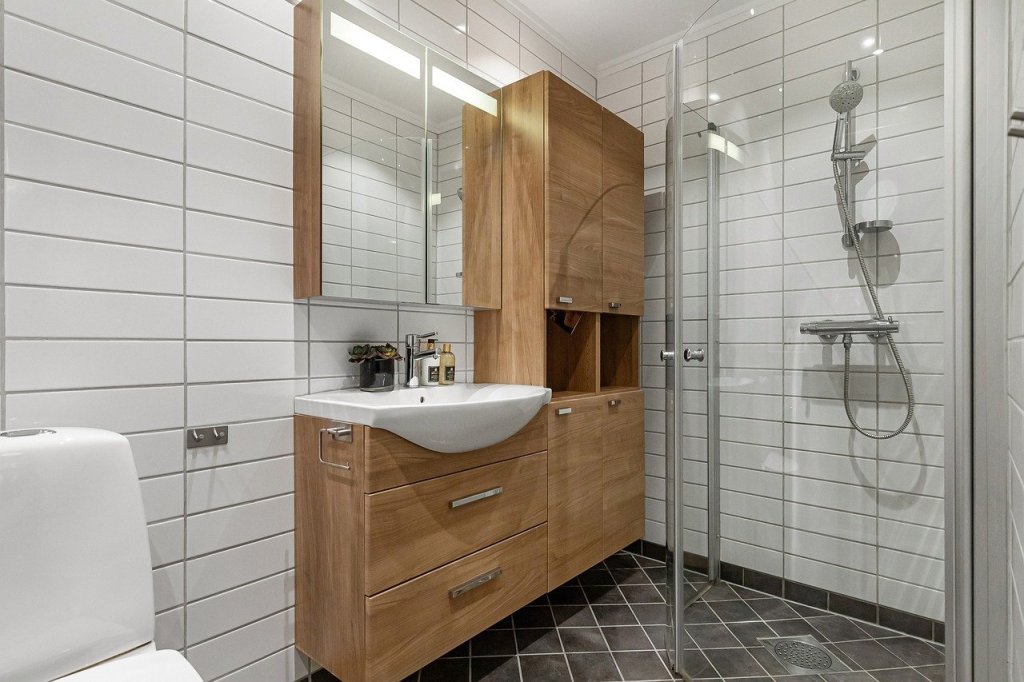
An ultra-slim shower tray naturally calls for complementary elements that reinforce its minimalist design:
Transparent Screens: Forget smoked or patterned glass. A clear tempered glass screen with minimalist hardware (matte black or subtle chrome) maximizes the sense of spaciousness.
Wall-Mounted Fixtures: Faucets and controls recessed into the wall, with no visible bodies, enhance the clean, streamlined look of the ultra-slim tray.
Discreet Drains: For resin trays, opt for linear drains or square grates that blend with the tray’s color and texture, becoming nearly invisible.
Choosing an ultra-slim shower tray is a commitment to cutting-edge design. While it requires careful technical management of the drainage system, the result is a modern, accessible bathroom that adds invaluable aesthetic value to your home.
We use cookies to ensure that we give you the best experience on our website. If you continue to use this site, we will assume that you are happy with this.