Introduction
DIY and sustainable decor combines creativity, savings, and respect for the environment. In this step-by-step guide, I will show you how to transition from the initial idea to a real transformation: planning, responsible materials, easy projects, and maintenance. It’s ideal for beginners and those looking for style without wasting resources.
Table of Contents
Why choose DIY and sustainable decor
Preparation: idea, space assessment, and budget
Eco-friendly materials and where to get them
Step-byby-step DIY projects (3 projects with easy/medium difficulty)
Finishes, safety, and long-term care
How to document and share your project (for blogs/TikTok/Pinterest)
Frequently Asked Questions (FAQ)
Conclusion and call to action
1. Why Choose DIY and Sustainable Decor
-
Reduces waste and carbon footprint.
-
Saves money: Reusing and recycling is cheaper than buying new.
-
Total personalization: Unique pieces that reflect your style.
-
Personal satisfaction: Creating improves the connection with your home.
2. Preparation: Idea, Space Assessment, and Budget
2.1 Define Your Goal (30–60 minutes)
-
What do you want to change? (wall, furniture, lighting)
-
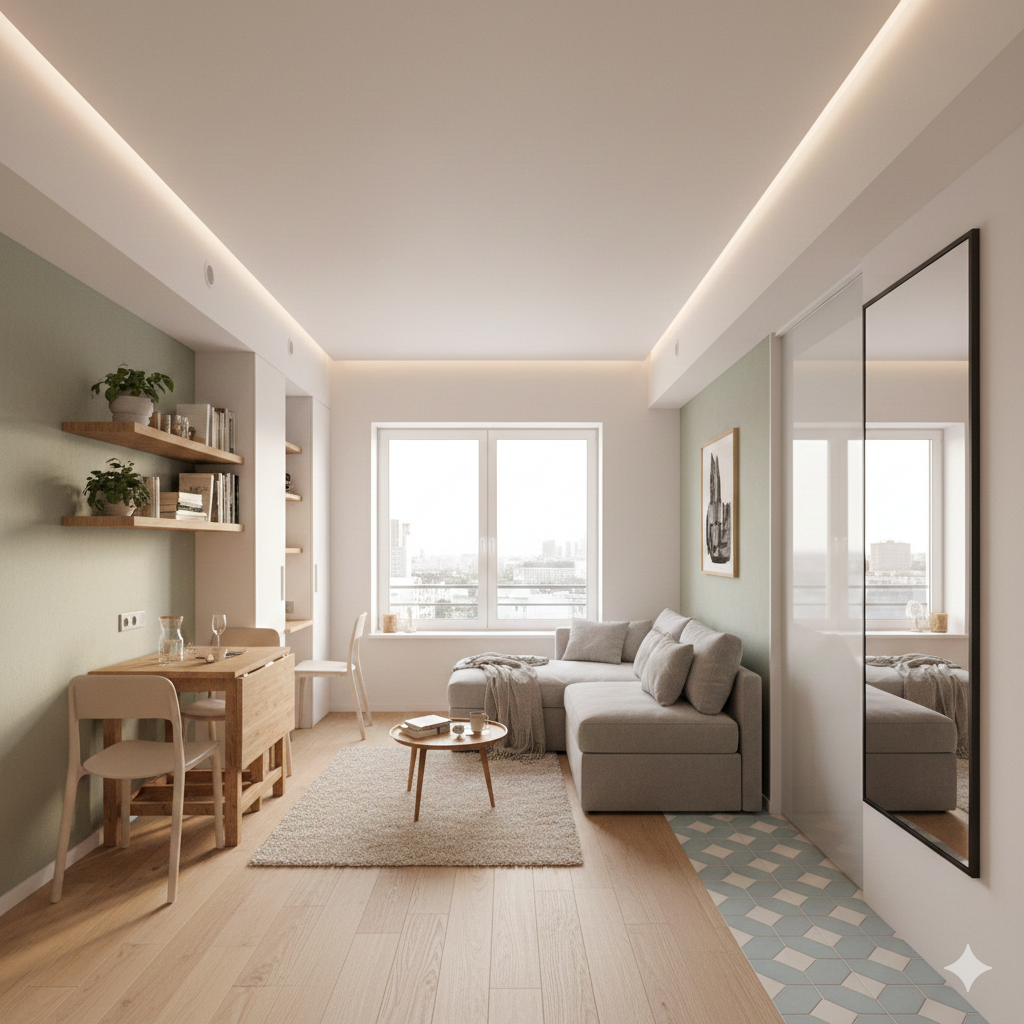
Desired style: minimalist, rustic, boho, Scandi.
Note 3 visual references (you can use Pinterest).
2.2 Measure and Assess (15–30 minutes)
-
Measure the space (height x width x depth).
-
List what remains reusable (furniture, textiles, frames).
2.3 Budget and Timeline
-
Total budget and breakdown (materials, tools, 10% for contingencies).
-
Simple timeline: Purchase (1–2 days), preparation (1 day), execution (1–3 days).
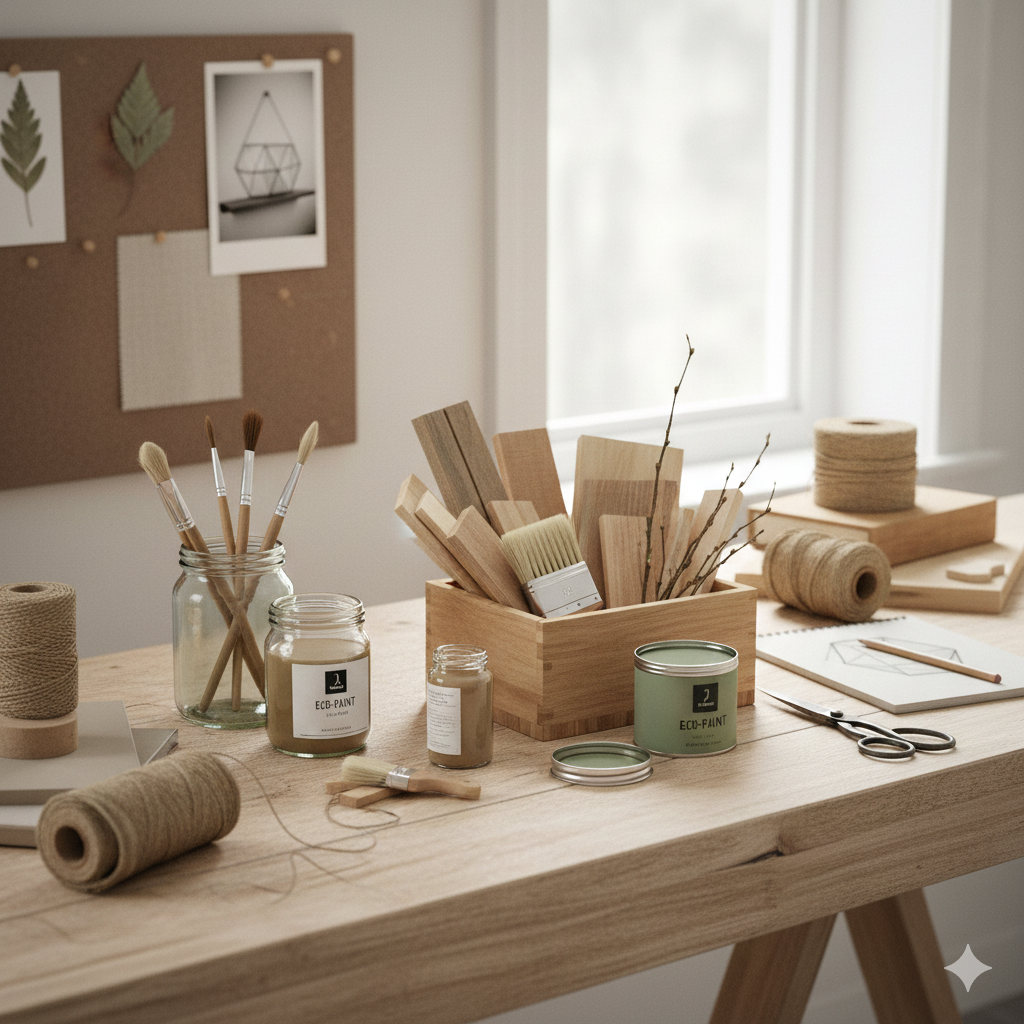
3. Eco-Friendly Materials and Where to Get Them
Recommended Materials
-
Reclaimed wood / pallets
-
Water-based or ecological paints (low VOC)
-
Natural varnishes and waxes (beeswax, linseed oil)
-
Organic or second-hand textiles
-
Ecological glue and adhesive whenever possible
Where to Get Them
-
Flea markets and local swap groups
-
Second-hand stores and furniture restoration shops
-
DIY supply stores with an eco-section
-
Exchanges on local networks and second-hand apps
Practical Tip: Before buying, ask if anyone is giving away leftover materials (wood, handles, paint cans).
4. Step-by-Step DIY Projects
Project A — Floating Shelf with Reclaimed Wood (Level: Easy)
-
Materials: Reused board, invisible metal brackets, sandpaper, natural varnish.
-
Sand the wood until splinters are removed.
-
Measure and mark the position on the wall (use a level).
-
Fix the brackets to the wall with appropriate wall plugs.
-
Place the board and screw if necessary.
-
Finish: Apply wax or varnish in thin layers.
-
Estimated Time: 2–3 hours.
-
Eco-Benefit: You recycle wood and avoid buying new shelves.
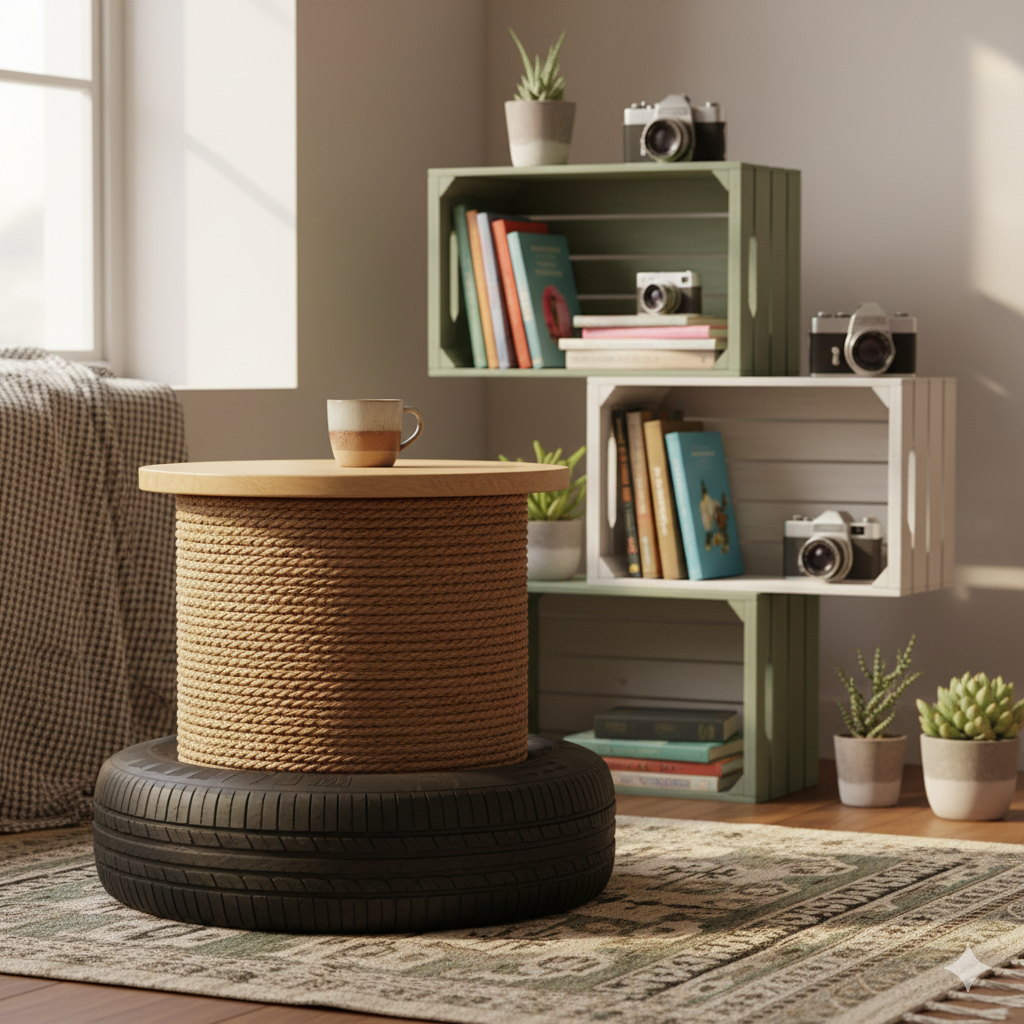
Project B — Side Table with Pallet and Metal Legs (Level: Medium)
-
Materials: Cut pallet, prefabricated (or reused) legs, saw, sander, optional ecological paint.
-
Disassemble the pallet and cut to size.
-
Sand and prepare the surface.
-
Fix the legs with screws.
-
Paint or leave with a natural finish and protect with varnish.
-
Estimated Time: 4–6 hours.
-
Tip: Use reclaimed metal legs for an industrial look.
Project C — DIY Vertical Garden Panel for Wall (Level: Easy-Medium)
-
Materials: Wooden frame, preserved moss or framed succulent plants, strong glue, breathable canvas.
-
Line the frame with the canvas.
-
Fix the moss or succulents with glue / small pots.
-
Place the panel on the wall with secure anchors.
-
Benefit: Improves acoustics and brings nature without the need for constant watering (if using preserved moss).
5. Finishes, Safety, and Long-Term Care
Finishes
-
Thin layers of natural varnish to protect the wood.
-
Ecological sealants on floors and cutting boards.
-
Avoid high-VOC varnishes in closed rooms.
Safety
-
Use gloves, goggles, and a mask for sanding.
-
Ventilate well when painting or varnishing.
-
Follow the instructions of power tool manufacturers.
Maintenance
-
Gentle cleaning with a damp cloth and neutral soap.
-
Reapply wax or oil every 6–12 months depending on use.
6. How to Document and Share Your Project
-
Photos before / during / after in vertical and horizontal format.
-
Create an Instagram carousel or a short video for TikTok showing «from 0 to 100.»
-
On Pinterest, upload images with step-by-step descriptions (use keywords: «sustainable DIY,» «recycled shelf»).
-
If selling the tutorial, offer a downloadable PDF with a list of materials and measurements.
7. FAQ (Frequently Asked Questions)
| Question | Answer |
| Do I need to be handy to start? | No. Many projects are simple and only require basic tools (sandpaper, drill, hand saw). |
| Approximately how much does a small project cost? | Small projects can cost between €10–€60 if you reuse materials; buying new can raise the cost. |
| Where can I get inspiration and exact measurements? | Pinterest, sustainable decor blogs, and local second-hand stores. Always measure twice before cutting. |
| Does ecological paint cover as well as conventional paint? | Yes, modern water-based paints cover very well; apply 2 coats if you are looking for greater opacity. |
Latest Posts Published
✨ How to Decorate a Windowless Room: 15 Surefire Strategies for Creating a Bright and Cozy Oasis

How to Decorate a Narrow Hallway Without Overwhelming the Space: Complete Guide to Expanding and Modernizing It (2025)

How to Decorate a Small Bathroom with Functional Ideas: The Definitive Guide 2026
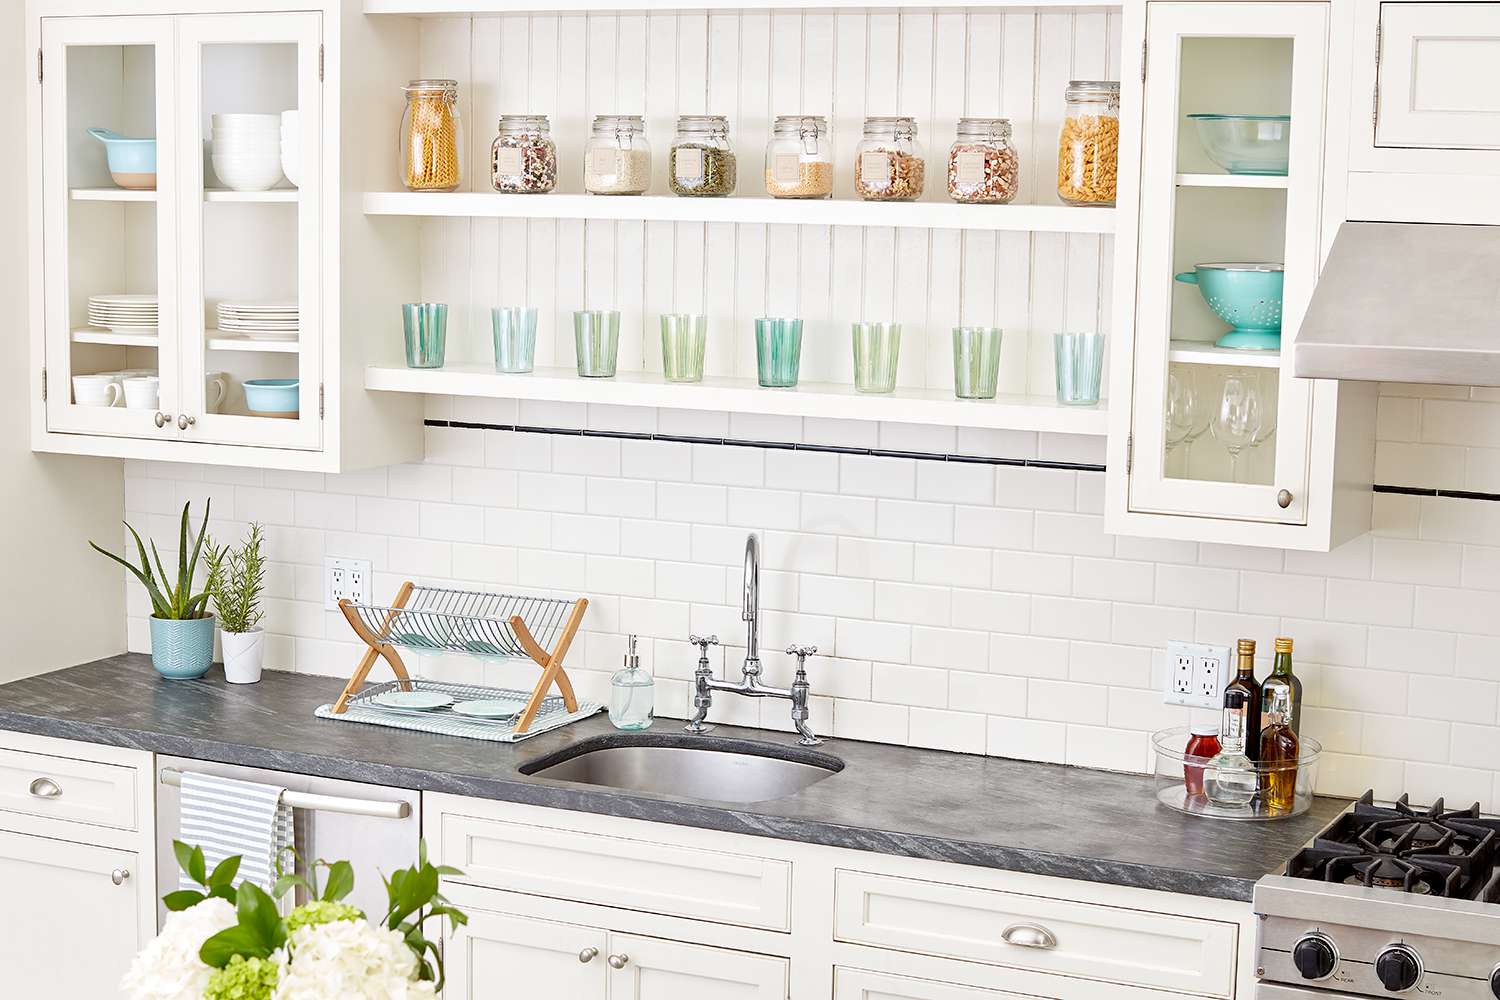
How to Organize Your Kitchen to Make It Look Neat and Modern (Step-by-Step Guide)
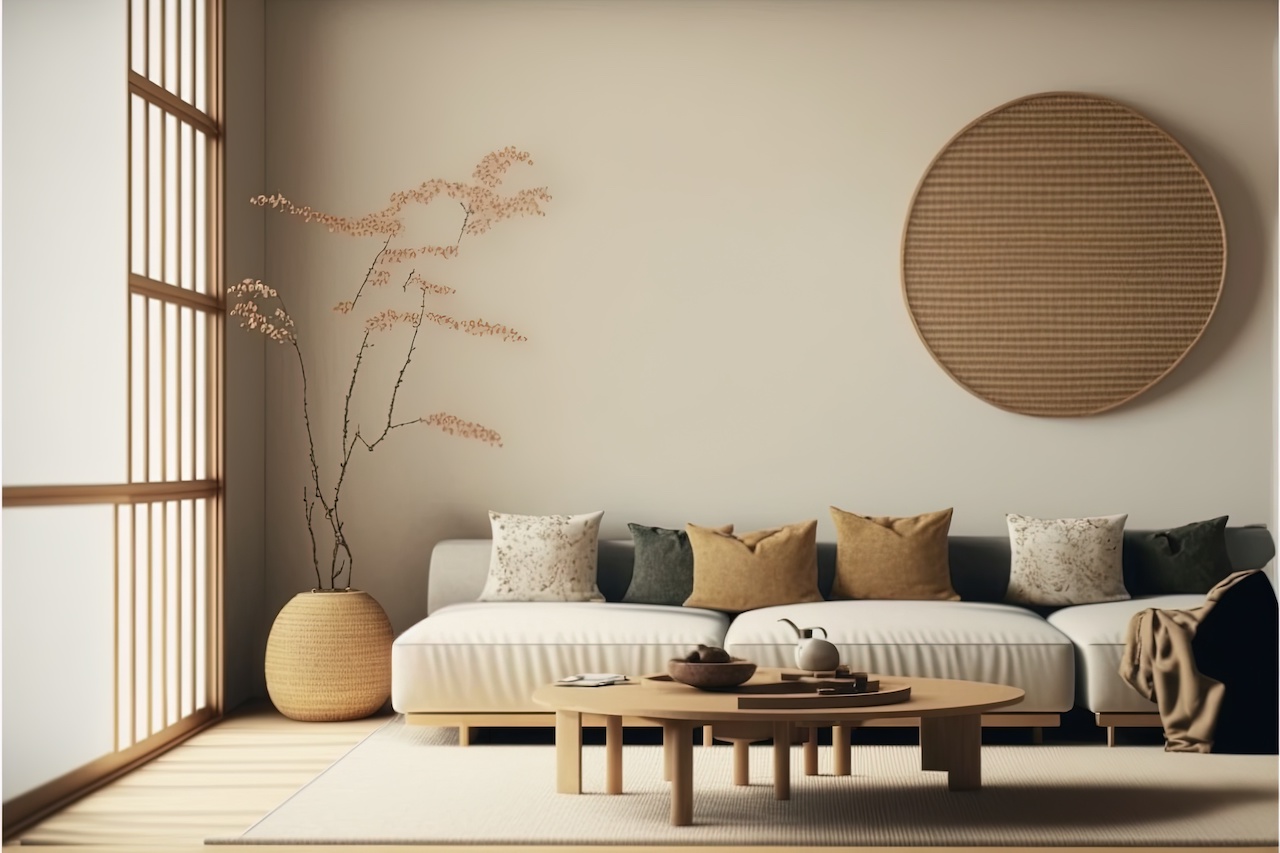
Wabi-Sabi Decor 2025: How to Create Imperfect Yet Elegant Spaces

How to Choose the Perfect Lighting for Every Room
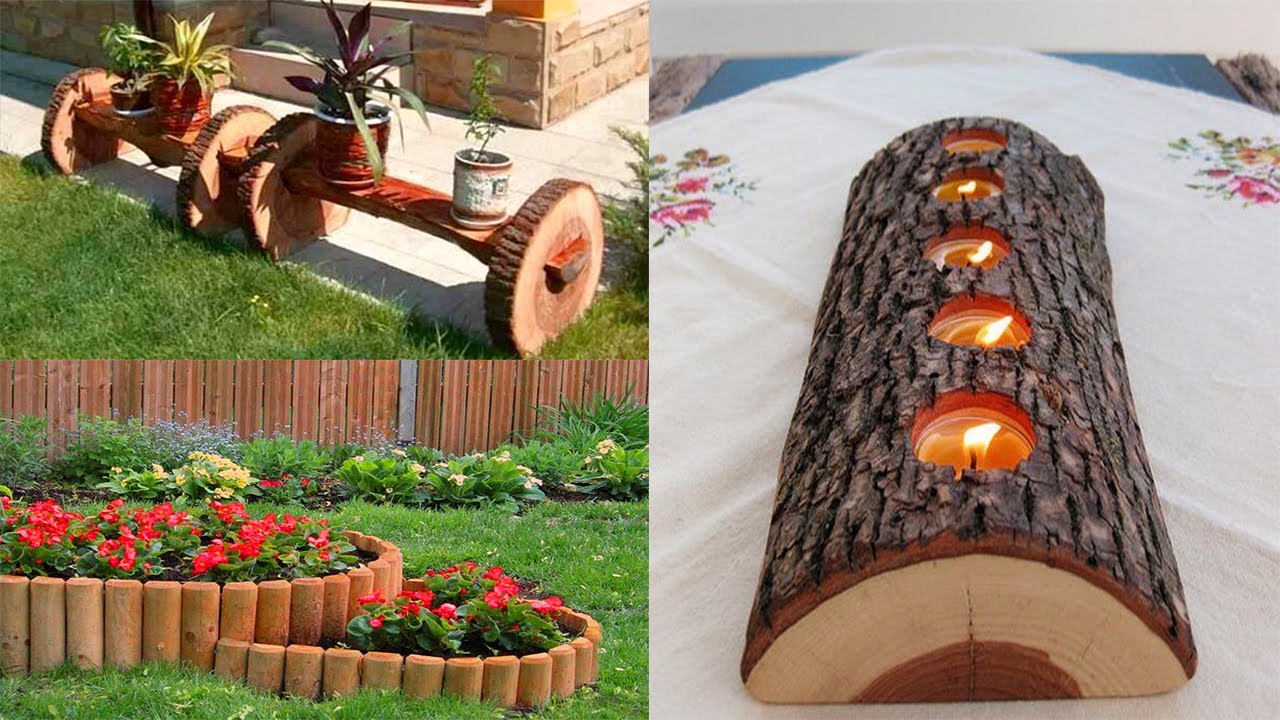
DIY Decorating with Natural Wood: 15 Rustic and Modern Ideas
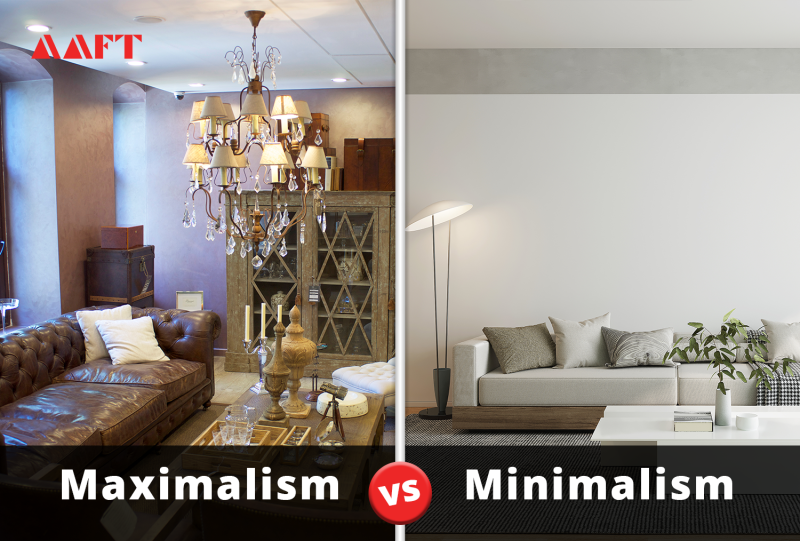
How to Combine Maximalism and Minimalism in Interior Design (2025 Trends)
Sustainable Vintage Decor: Guide to a Trendy Retro-Style Home