If you want to give your walls or ceilings a professional and modern touch, learning how to make Placo formwork (drywall panels) is essential. Placo is perfect for creating partition walls, moldings, built-in shelves, or false ceilings with elegant finishes. In this complete guide, we show you how to create Placo formwork safely and efficiently, with tips to make your project look like professional interior decoration.
What is Placo Formwork?
Placo formwork is the structure that supports drywall panels before finishing. It is commonly used to:
-
Build modern walls and partitions.
-
Design false ceilings with recessed lighting.
-
Create shelves, niches, and built-in furniture.
-
Achieve smooth and uniform wall and corner finishes.
💡 Decorative tip: Combine Placo with recessed LED lighting for a modern, minimalist effect in living rooms or bedrooms.
Materials You’ll Need
Before starting, make sure you have:
-
Drywall panels (Placo)
-
Metal framing (studs and tracks)
-
Drywall screws
-
Electric drill and screwdriver
-
Joint tape and joint compound
-
Level, measuring tape, and pencil
-
Drywall saw or professional cutter

Step 1: Design Your Formwork
Before installing anything, plan your project carefully:
-
Mark exact measurements on walls and ceilings.
-
Decide if the Placo will be used for a full wall, false ceiling, or built-in furniture.
-
Draw a schematic of the structure to avoid mistakes during installation.
💡 Decorative tip: Use light colors on Placo walls and ceilings to make spaces look brighter and more spacious.
Step 2: Install the Metal Framing
The metal framing is the base of your formwork:
-
Fix horizontal tracks to the floor and ceiling.
-
Insert vertical studs, keeping recommended spacing (usually 60 cm).
-
Always check verticality with a level.
💡 Decorative tip: You can create niches or shelves in the framing, leaving strategic gaps for decoration.
Step 3: Attach the Placo Panels
-
Place the panels on the metal frame, ensuring they are properly aligned.
-
Screw in with drywall screws, avoiding damage to the surface.
-
Leave a small gap between panels for tape and joint compound.
💡 Decorative tip: For a more elegant finish, round corners using Placo moldings and reinforcement tape.
Step 4: Finishing and Decoration
-
Apply joint tape and compound to all seams.
-
Sand smoothly when the compound dries.
-
Paint or apply decorative wallpaper according to your room style.
💡 Decorative tip: A matte finish on Placo highlights wall texture and allows creative lighting effects.
Professional Tips
-
Do not overload Placo: it supports moderate weight; reinforce for heavy shelves.
-
Recessed lighting: increases the decorative value of the space.
-
Customize your design: combine straight lines with curves for a modern effect.

Latest Posts Published
✨ How to Decorate a Windowless Room: 15 Surefire Strategies for Creating a Bright and Cozy Oasis

How to Decorate a Narrow Hallway Without Overwhelming the Space: Complete Guide to Expanding and Modernizing It (2025)

How to Decorate a Small Bathroom with Functional Ideas: The Definitive Guide 2026
How to Organize Your Kitchen to Make It Look Neat and Modern (Step-by-Step Guide)
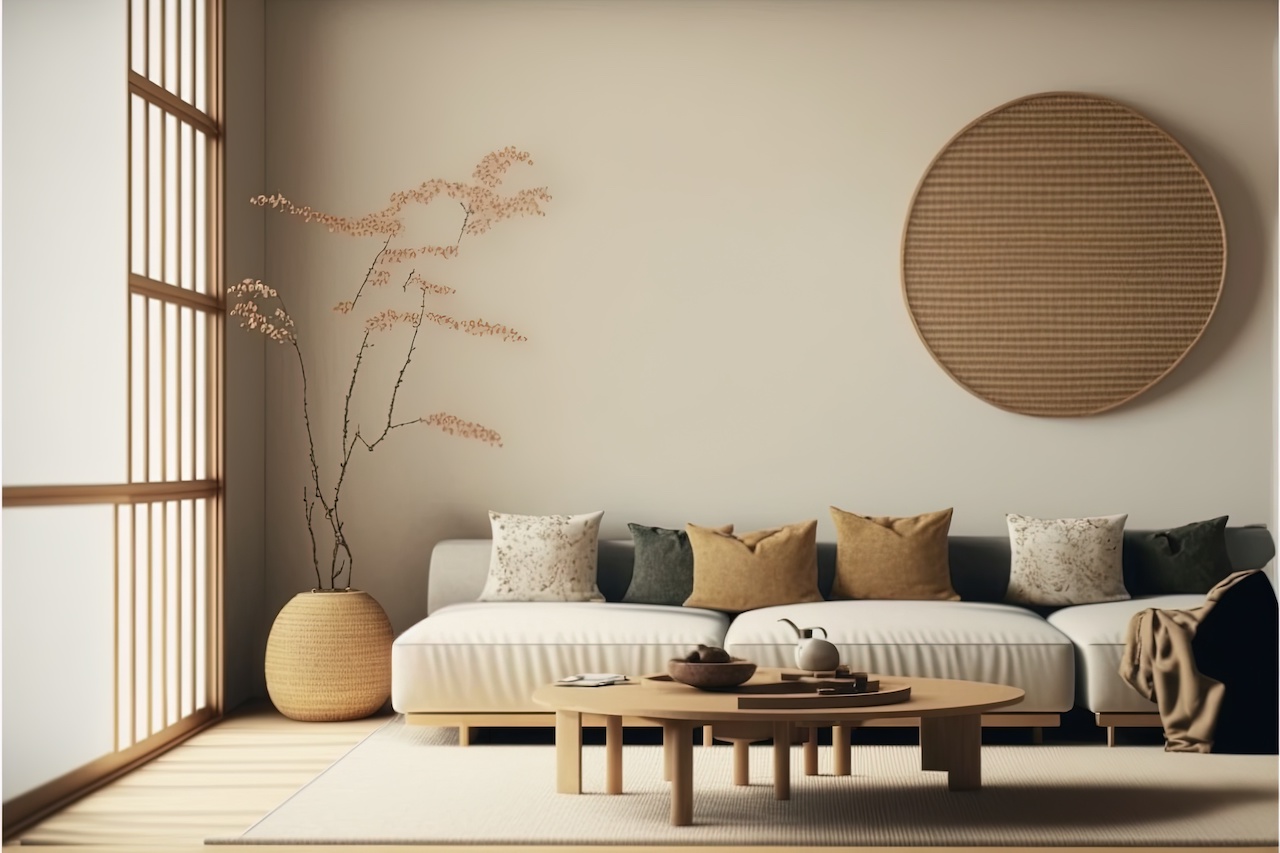
Wabi-Sabi Decor 2025: How to Create Imperfect Yet Elegant Spaces
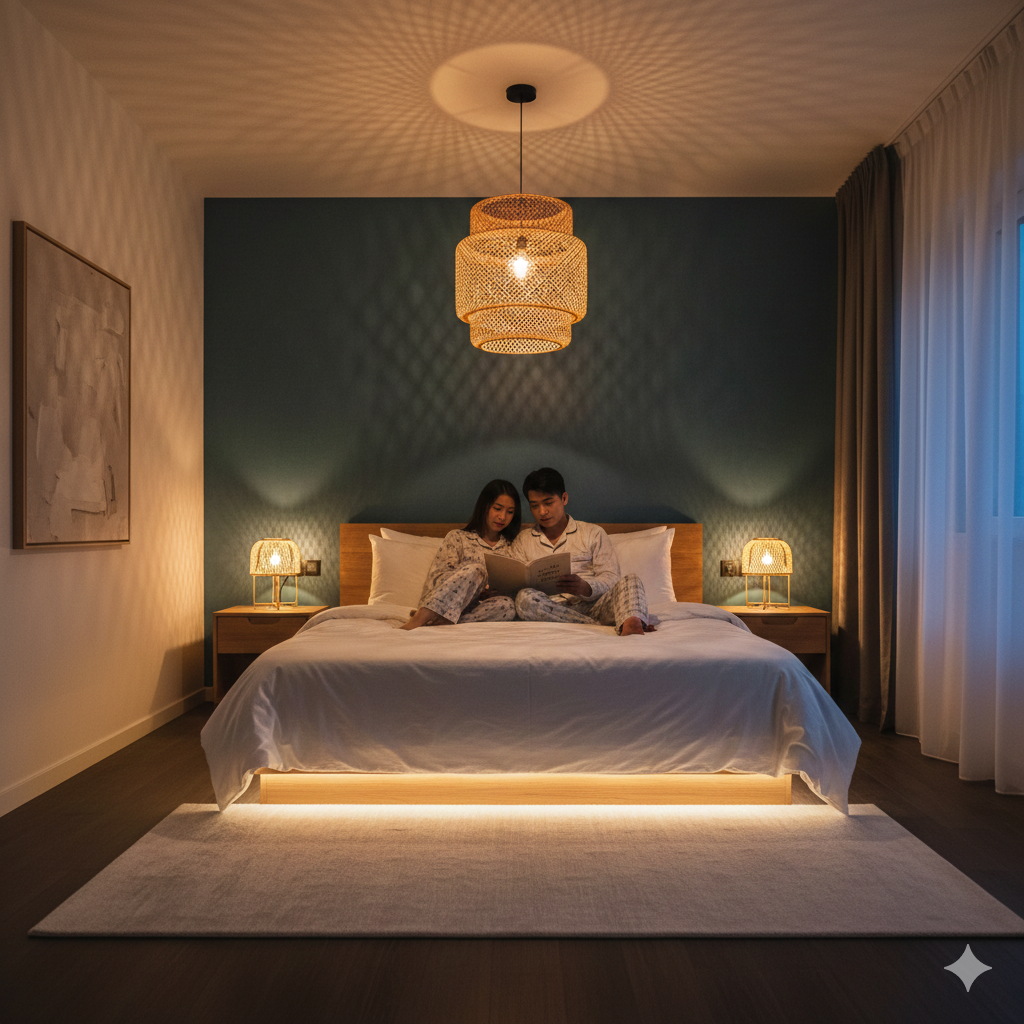
How to Choose the Perfect Lighting for Every Room
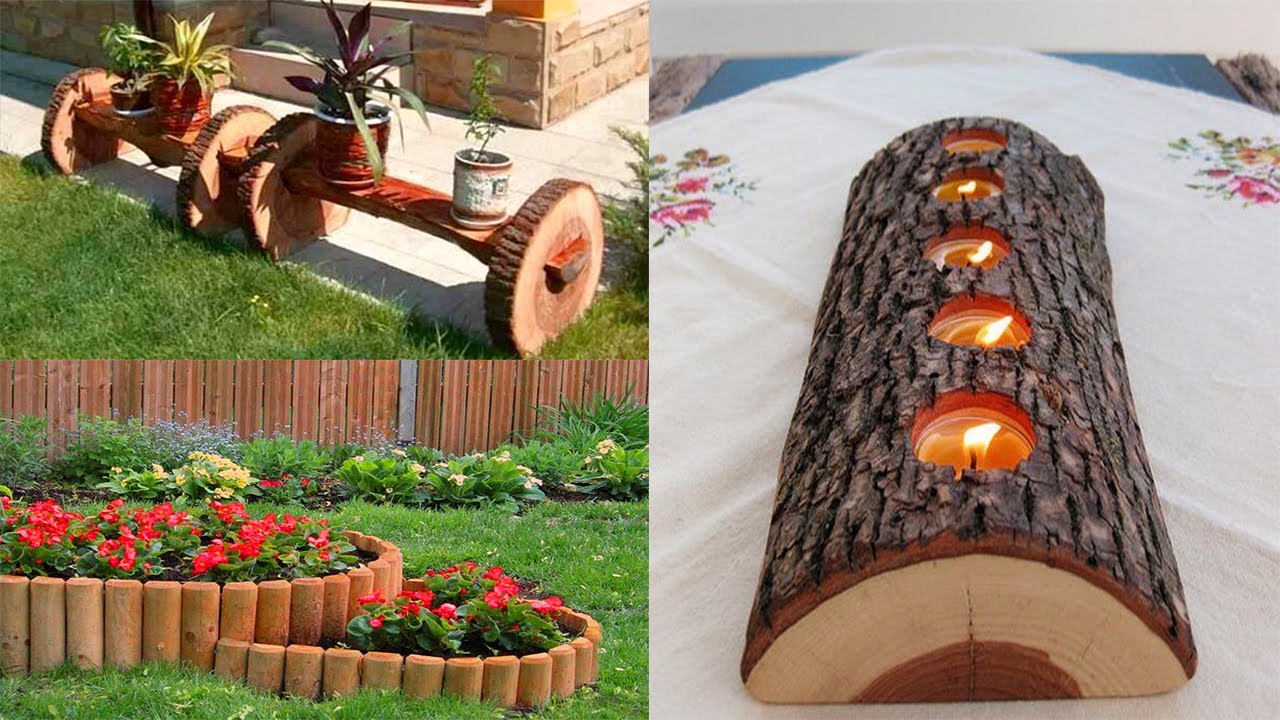
DIY Decorating with Natural Wood: 15 Rustic and Modern Ideas
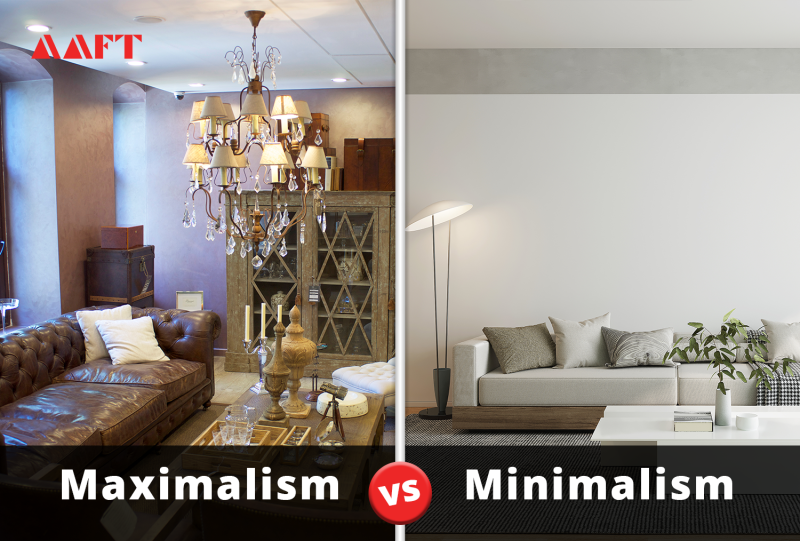
How to Combine Maximalism and Minimalism in Interior Design (2025 Trends)
Sustainable Vintage Decor: Guide to a Trendy Retro-Style Home